How to apply nasal strips (so they stay on all night)
 Lachlan Maskell
7 min read
Lachlan Maskell
7 min read

On this page
By Lachlan Maskell, Co-founder, Fluence Published 05/07/2026
Most complaints about nasal strips come down to two fixable problems: the strip was placed too high, or it was stuck to skin that was not clean and dry. Get placement and prep right and a good strip will do its job for a full session or a full night. Get them wrong and even the best adhesive will lift by 2am.
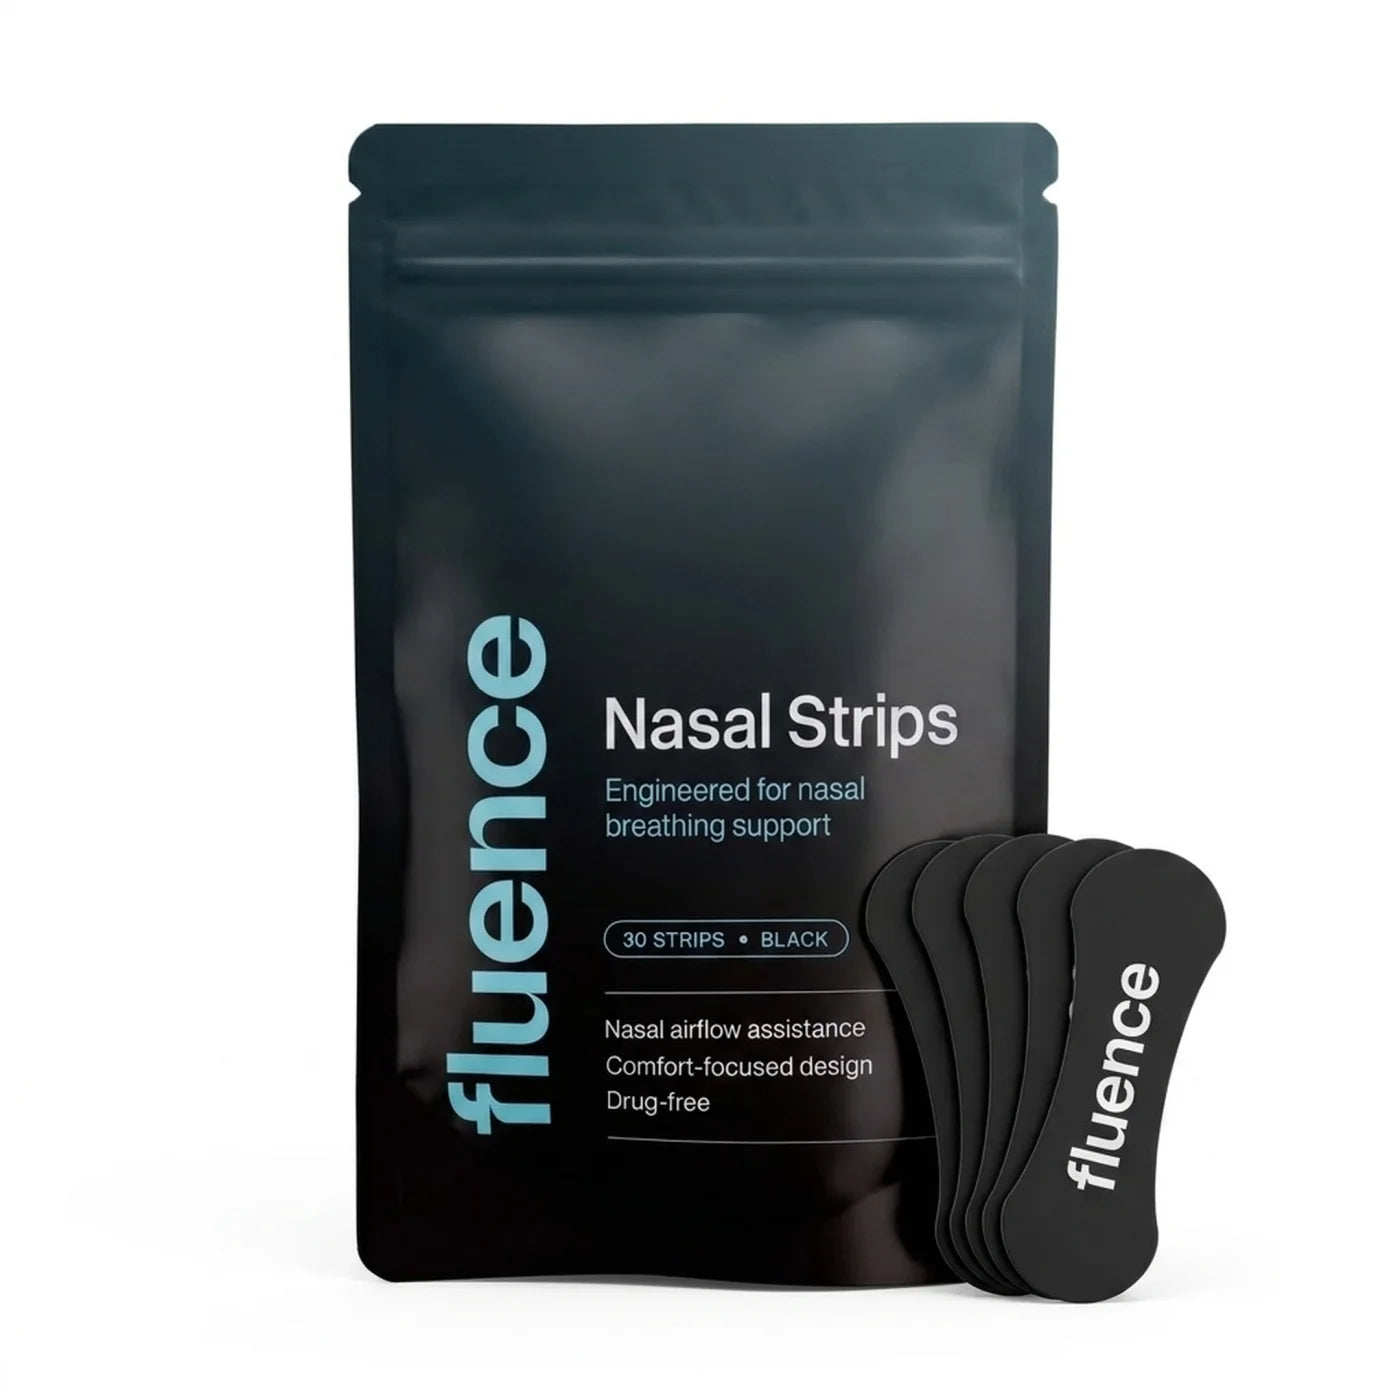
Here is the complete process, including the mistakes we see most often.
Where do you place a nasal strip?
The strip goes across the soft, flexible part of your nose, not the bony bridge.
Find the spot by pressing gently down the centreline of your nose, starting between your eyes. You will feel hard bone, then a point where the surface becomes soft and springy. That soft zone, roughly halfway down the nose and directly above where your nostrils flare, is the target.
Placed there, the strip's flexible bands sit over the nostril walls. As the bands try to straighten, they gently lift the sides of the nose outward. That lift is the whole mechanism, so position decides everything. For what that mechanism does and does not do, read Do nasal strips work? What the evidence shows
Two placement checks before you press down:
- The tabs at each end of the strip should sit on the flare of each nostril, the soft wings at the sides of your nose.
- The strip should be level. A tilted strip lifts one side more than the other and tends to peel from the low corner.
How do you prep your skin before applying a strip?
Adhesive sticks to skin, not to whatever is sitting on your skin. Prep takes 30 seconds:
- Wash the nose area. Use warm water and, ideally, a little plain soap or cleanser to cut through oil. Skip heavy moisturising cleansers.
- Skip moisturiser, sunscreen and makeup on the nose. These are the top causes of strips lifting early. If you have already applied them, wipe the nose area clean first.
- Dry thoroughly. Water is as bad as oil for first contact. Pat dry with a towel and give it another 30 seconds to air dry.
If you are applying before training, do it before you warm up, while your face is still dry. A quality strip is sweat-resistant once bonded, but no adhesive bonds well to skin that is already wet. Fluence strips use a medical-grade adhesive on hypoallergenic materials, and even so, the clean-dry-skin rule still decides how well they hold.
How do you apply the strip, step by step?
- Wash and dry your nose and hands.
- Remove the strip from its liner without touching the adhesive more than you need to.
- Looking in a mirror, centre the strip over the soft part of your nose, tabs over each nostril flare.
- Press the centre down first, then smooth outward toward each tab.
- Rub along the whole strip for 5 seconds. Warmth and pressure are what activate the bond, and this step is the one everyone skips.
- Give it a minute before heading out the door or lying down. You should feel a gentle lifting sensation. If you feel nothing at all, it is probably sitting too high on bone.
How long can you wear a nasal strip?
Follow the directions that come with your strips. Fluence strips are designed for up to 12 hours of wear, which covers a long session or a full night, and they are for external use only and single use. Take the strip off after your session or when you wake up, and use a fresh one next time. Do not re-stick a used strip; the adhesive is spent and it will not hold.
Give your skin a break between wears, especially when you are new to strips. If you notice redness that persists, irritation or any skin reaction, stop using strips and read our safety guide: Are nasal strips safe?
How do you remove a nasal strip without hurting your skin?
Do not rip it off dry like a plaster. The adhesive is designed for up to 12 hours of wear, and it will take skin cells with it if you fight it.
- Loosen first. Remove during or after a warm shower, or hold a warm, wet face washer over the strip for 30 to 60 seconds.
- Peel slowly from the edges toward the centre, supporting the skin with your other hand.
- Wash off any residue with warm soapy water. A little oil (any cooking or skin oil) dissolves stubborn residue gently.
If removal regularly stings or leaves red marks that last more than an hour or so, loosen for longer before peeling, and consider giving your skin a rest day between strips.
What are the most common nasal strip mistakes?
- Placing it too high. On the bony bridge, the strip lifts nothing. It needs to sit on the soft, flexible section above the nostril flare.
- Placing it too low. Draped over the nostril openings, it wrinkles, feels intrusive and peels quickly.
- Skipping the 5-second press. Pressure and warmth set the adhesive. A quick pat is not enough.
- Applying over moisturiser, sunscreen or sweat. The strip bonds to the layer on your skin, then that layer lets go.
- Not pressing the tabs down. The ends carry the lifting tension. Loose tabs mean early failure.
- Ripping it off dry. Warm water first, always.
- Reusing strips. Single use only. The economics work better than you think: a Fluence pack is 30 strips for $24.99, about 83 cents a wear, or roughly 67 cents on subscription.
How do you get the right fit?
Noses vary more than strip marketing suggests. Three tips:
- If a strip constantly buckles in the middle, it may be too long for your nose; check whether the brand you use offers sizes. Some brands include multiple sizes per pack.
- If you feel strong pulling but little airflow change, try 2 to 3mm lower. Small changes in height make a large difference.
- If both sides never seem to lift evenly, check the mirror for tilt before pressing down, and set the strip's centre line on the centre of your nose first.
Expect a session or two of experimenting. Application is a skill with a very short learning curve, and the difference between a badly placed and well placed strip is the difference between "these do nothing" and "why did nobody tell me about placement".
Does application change for training versus sleep?
The technique is identical. Timing differs slightly:
- Training: apply to a clean, dry face before your warm-up, press firmly, and give the adhesive a couple of minutes to set before you start sweating. Fluence strips are sweat-resistant for exactly this scenario. More on training use at /pages/nasal-athlete
- Sleep: apply after your evening face wash, once your skin is fully dry, and before any night creams go anywhere near your nose.
Full product details, including up to 12 hours of wear and hypoallergenic materials, are at /products/nasalstrips.
Quick FAQ
Can you wear a nasal strip with glasses? Yes. A correctly placed strip sits below where most glasses rest on the bridge. If they overlap, your strip is probably too high.
Can you apply a strip over a sunburnt or broken nose skin? No. Strips are for external use only on intact, healthy skin. Wait until skin has fully healed.
Do strips hurt to remove? Not if you loosen the adhesive with warm water and peel slowly. Dry ripping is the only reason removal hurts.
Sources
- Sleep Foundation, on how nasal strips are used: https://www.sleepfoundation.org/snoring/do-nasal-strips-work
- Fluence nasal strips: https://fluence.au/products/nasalstrips
This article is general information only and is not medical advice. Nasal strips do not treat medical conditions, including sleep apnoea. If you have ongoing breathing, snoring or sleep concerns, speak with your doctor or pharmacist.
Frequently asked questions
Where should a nasal strip sit?
Across the flare of the nostrils - the soft part just above the nostril openings - not up on the bony bridge. Press and hold for a few seconds.
Why won't my nasal strip stick?
Usually oil or moisture on the skin. Wash and fully dry your nose first, and skip moisturiser or sunscreen on that area beforehand.
How do you remove a nasal strip without it hurting?
Loosen it with warm water - in the shower is easiest - then peel slowly from the edges inward.
Keep reading

Co-founder of Fluence. Writes about nasal breathing, hydration and the training that shaped both products.
This article is general information only and is not medical advice. Nasal strips are drug-free, external-use products and do not treat medical conditions, including sleep apnoea. If you have ongoing snoring, sleep or breathing concerns, speak with your doctor.
Published 08/07/2026 · Updated 26/09/2026
← Back to Learn